What is InfoPath?
InfoPath is an application to create XML based Data entry Forms and targeted for end users and developers. The flexibility to create more sophisticated forms with little or no code is one of the highlighted advantages of using InfoPath.
InfoPath Designer is the tool to create Forms and it has a ribbon interface plus the Designer tools. InfoPath is a part of Microsoft Office Professional Plus.
What are the advantages of using InfoPath with SharePoint?
You might be thinking that SharePoint provides Lists which creates Forms for data entry. Then why we need InfoPath Forms?
The answer would be additional features provided by InfoPath like:
- Rules support for validating Fields
- More flexibility in capturing repeated entries
- Managed Code Support
- Digital Signature support
- Users without Programming skills can create Forms
The following table gives a comparison of the various tools and the expertize level required.
Requirement
|
Solution
|
Skill
|
Simple Forms
|
SharePoint List & Forms
|
User
|
Forms with more features
|
InfoPath Forms
|
User
|
Complex Forms
|
ASP.NET WebParts
|
Developer
|
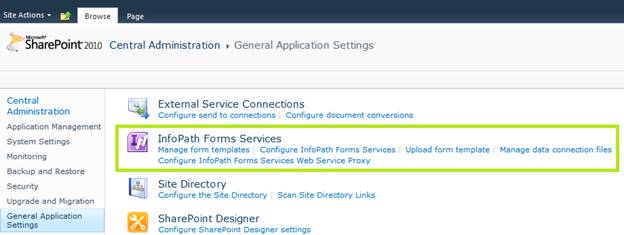
InfoPath Forms are managed inside SharePoint through the Central Administration > General Application Settings > InfoPath Forms Services
What are the tools needed?
You need InfoPath Designer 2010 to work with the examples in this article. You can download a Trial Version of Office 2010 Professional Plus 64 bit from here.
After installation you can start InfoPath Designer 2010 from the Start menu.

Creating a Form
Now we can start by creating a Form and Deploying to our SharePoint site. Our aim is to have a simple form to capture the following fields:
- Title
- Full Name
- Address
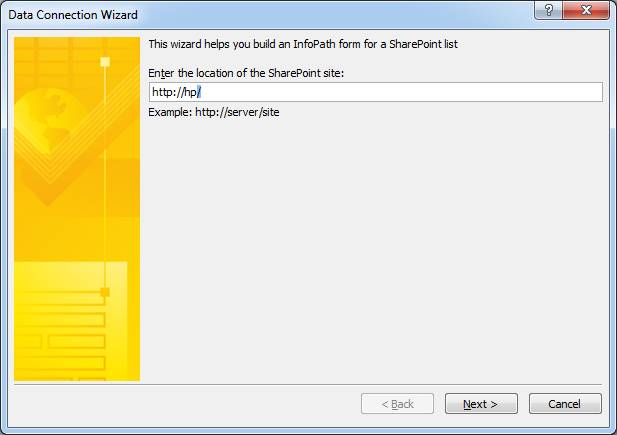
Double Click on the SharePoint List button from the first screen of InfoPath Designer. You will get the following screen. Enter your site name there and click the Next button.
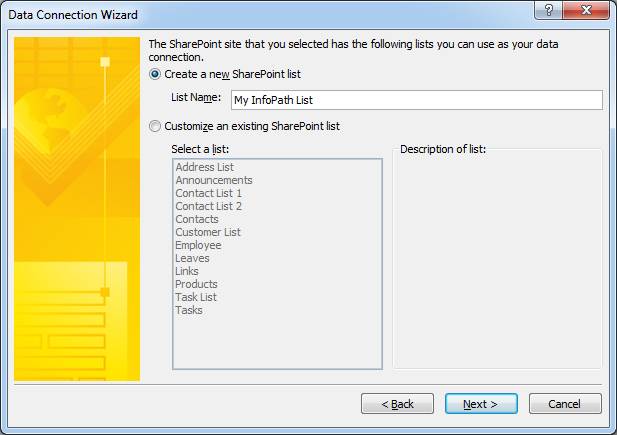
In the succeeding form enter your user credentials if prompted. The next wizard screen will be prompting to enter the List Name for the Form.
Note: The form which we are creating will be used to capture item information. This information is stored as a SharePoint list.
Click the Next button and then click Finish.
You will see the following Designer screen.
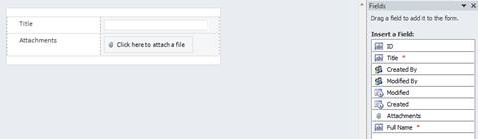
The Title and Attachments are two rows by default. As you will be knowing Title is the default field required and you change the caption.
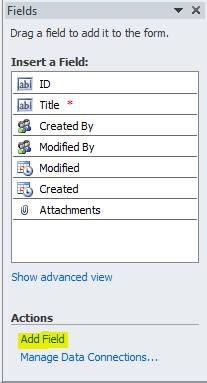
Field Pane
There is a Fields pane on the right hand side from which you can drag and drop fields. You can even add new fields using the Add Field button.
Using the Form Designer
We can add or delete rows from the form. For example we can remove the Attachments field. Right click on the Attachments Row and use the menu item Delete > Rows
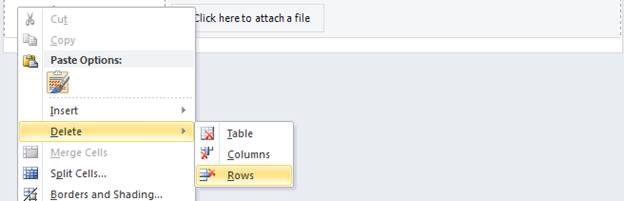
Now the Attachments row got deleted.

Now we need to add the Full Name field. For this right click on the Title row and use the menu option Insert > Rows Below.
Creating a New Field
As you can see that the Fields pane does not have a Full Name field. We need to add this now. Click on the Add field link from the Fields pane.
Enter the text Full Name in the Display Name area. The name area will be automatically filled as shown below. Leave the Data type as Single line of text itself.
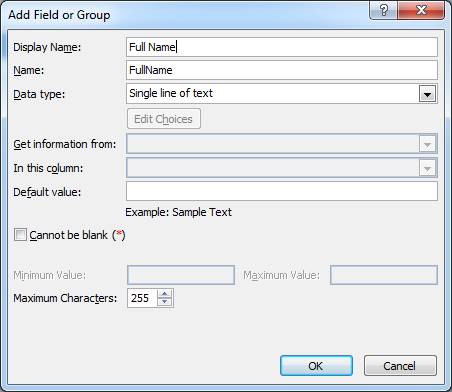
Press the OK button and the new field is created.

Placing the New Field on the Form
We can just drag and drop the field and the label and text box are automatically created. But this is little tricky. In the designer drag the field to the form. If you see that the row is highlighted drop the field.

Now the user controls (label and textbox) are created as shown below.

Please repeat the same step for creating an Address field. This time you have to select a multiline textbox.
Once all the 3 fields are ready with input controls, the form would look like below:
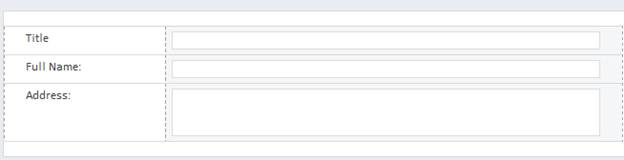
Note: There is no OK and Cancel buttons as they will be shown by the runtime viewer.
Saving the Form
Now click on the Save button and enter the name as My InfoPath Form.
Publishing the Form
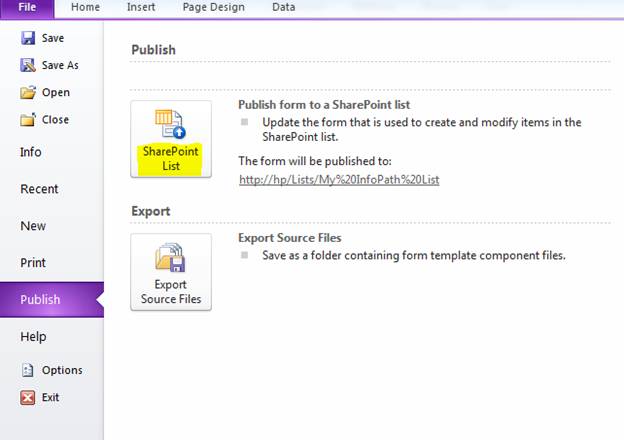
Now we are ready to publish the form to our SharePoint server. You can use the File > Publish > SharePoint List button to achieve this.
If the Publish was successful you will get the following dialog.
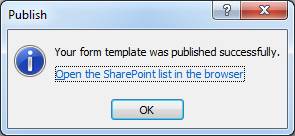
Click on the link in dialog to open the site.
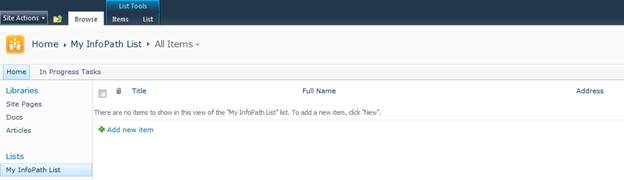
Viewing the InfoPath Form
To view the InfoPath form we just created use the Add new item link. You can see the following screen.
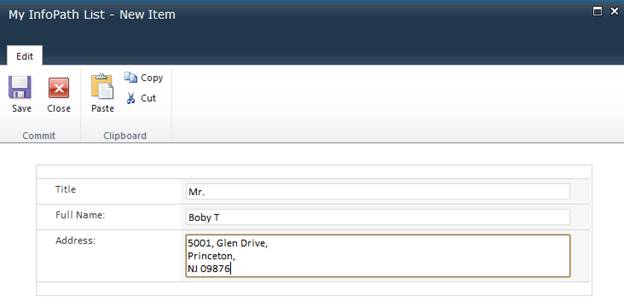
Enter some details and click the Save button. If it goes well you can see the new item inserted.

So this concludes our usage of InfoPath form and Publishing it.
